


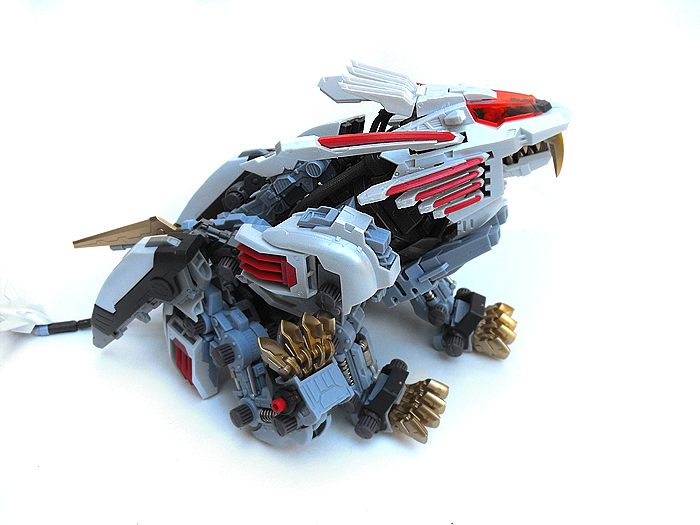
- HMM 003 LIMITED Blade Liger Mirage

Blade Liger Mirage was one of the most anticipated releases of the year. Although there were many announcements in 2010, even with the release of the new Liger Zero, the Mirage held a certain novelty that fans had been attached to for a very long time. It was always the staple color variation of the Blade Liger, and was featured once upon a time in the Zoids Web Comic; a series that was lost.
Ontop of the most beautiful box art of the year, Mirage was the first Kotobukiya Zoid to feature a B4 sized poster of the box art. This poster was packaged in the bottom of the box with the utmost care, to ensure that it arrived with the buyer in one piece, and uncrumpled. If you've never owned a Blade Liger before, don't let this discourage you as far as size goes. Blade Liger boxes are immense, and you don't have to worry about a book-page sized poster.
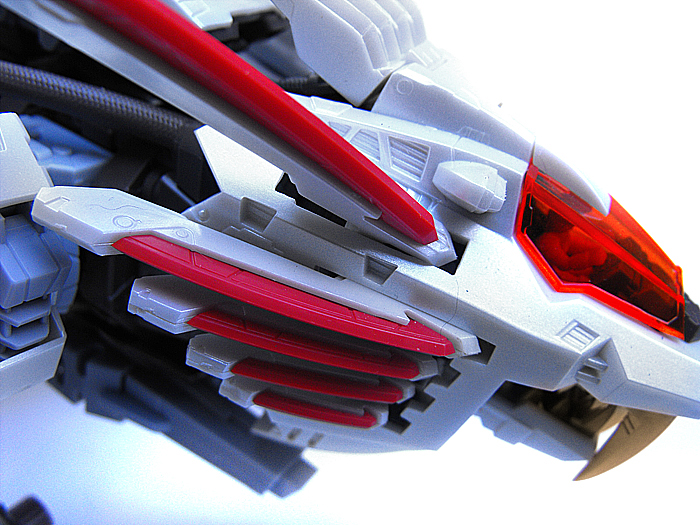
One last mention before we move on, is that the Blade Liger Mirage is also one of the first Zoids to feature a more vibrant color scheme. This scheme features a pearlescent styled coloring to the otherwise white plastic. This was particularly odd, because the official Kotobukiya page for Zoids is usually very particular about doctoring up their photos to look nice, and yet they completely wiped out this beautiful addition with stark white armor on the Liger, with poorly taken photos.
If you've looked at photos of the Mirage online, I think it's important to note that the Blade Liger Mirage has a very picky, less-than-photogenic armor. The photos often come out far greener than the Liger actually is. Now I won't deny that the pearly color does have a green tint, but many photos online picture this as a VERY obvious look, and it is extremely subtle in real life, and does not clash with the red armor at all. In fact, if anything, I think it represents the red tones better than pure white ever would have.
Now moving on, we'll get to some other features and pictures.
Gallery


Pros:
Beautiful pearly colors which are new to Zoids
Waterslide decals for cleaner overlays and less visible edges
Appealing and more accurate blade, teeth, and claw colors
Detailed build and characteristics, as always from Kotobukiya's models
Additional B4 Size Poster (Note: B4 standard is a different size in Japan than the US standard)
Flexible paws/toes
Cons:
Pretty unstable unstable. Getting a reliable kit is hit or miss.
Some pieces are VERY loose and limp. More detail on this in the gimmicks.
Extremely fragile pieces (mane pieces); BEWARE
Black plastic on Attack Boosters is brittle and chips easily
Some extremely tough plastic that makes it hard to cut without severe scarring
- Box and Inserts
Unlike any other Zoid up until this point, the Blade Liger Mirage comes with a B4 size poster of the box art. Since the box art is of such beautiful detail, this was one of the things I looked forward to most about the model. However, buyers should be aware that Japan has a different B4 size standard than America does. If you're looking for a frame for this poster, you may be buying a custom frame, and that can get quite expensive. I'd suggest buying a matt plate and pasting the poster, or framing with an oversized, black background finish on a larger size frame.
Blade Liger Mirage also happens to be the second Zoid (after the Lightning Saix) to use waterslide decals as its sticker of choice. These are special decals that come off of the back surface using water, and slide onto the kit. The advantage of waterslide decals Vs. the standard stickers is that waterslide decals are more adapt to fitting over curved surfaces. With the Blade Liger's many curved surfaces, be it slightly angled or entirely circular, you can imagine this will be a great asset to the kit. The other advantage is that they go on more clearly. This means that you won't be seeing visible edges nearly as much as you would with basic stickers. If you're a first time user to waterslide decals and are unfamiliar with how to use them, you can try cutting off small snippets of the sticker sheet around the actual decals and testing them out before you apply with the actual kit. The bag letter plates of spare sprues are useful for this.
The instructions are rather basic, but one thing I took notice of was the back that features the different parts, where to assemble stickers, etc. Some Zoids (Command Wolf, for example), use generated images for this, but the Blade Liger Mirage uses pictures of the actual parts of the zoid.
- Gimmicks
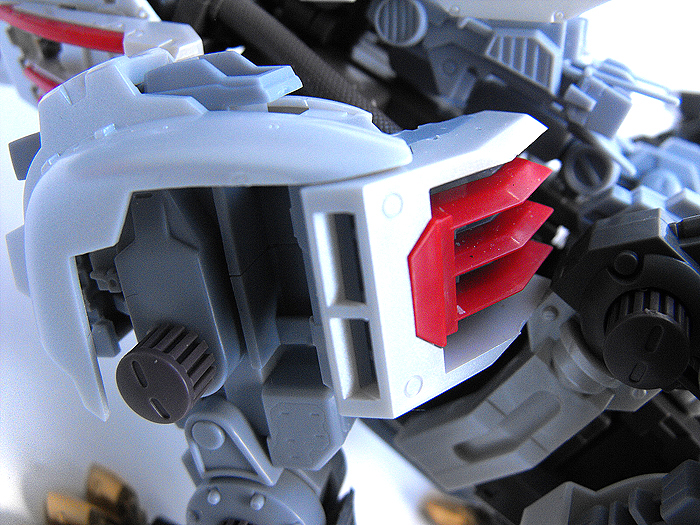
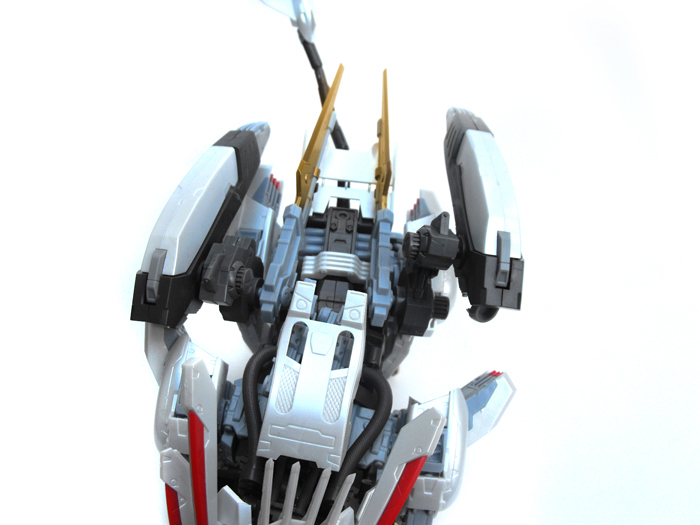
Upper Shield Generator
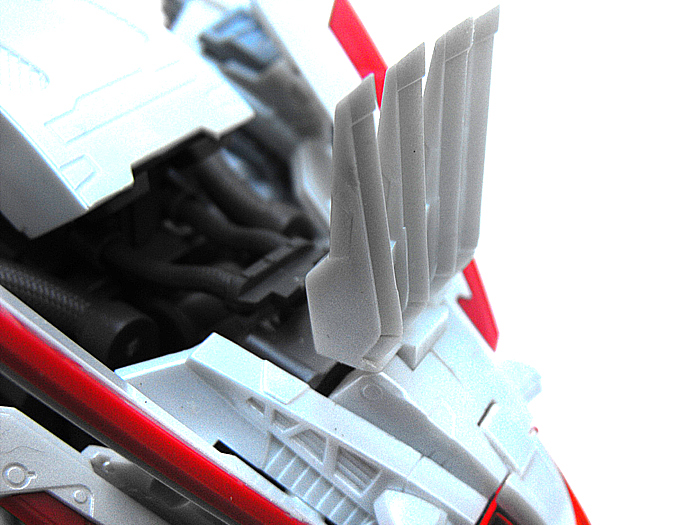
The small blades ontop of Blade Liger Mirage's head flip up, to signify the activation of Blade Liger's energy shield. Normally they lay back against the neck. It looks good as far as the shield generator goes, but the piece is attached to the white armor that connects to the cockpit. This is held in by two pegs, and it frequently pops off of the rest of the head while adjusting the shield generator.
Lower Shield Generator
The bottom shield generator also shifts and flips outwards. There isn't much to say here. It's one of the few pieces that stays stable, although I've always thought the flat piece on the round neck guard looked a bit out of place.
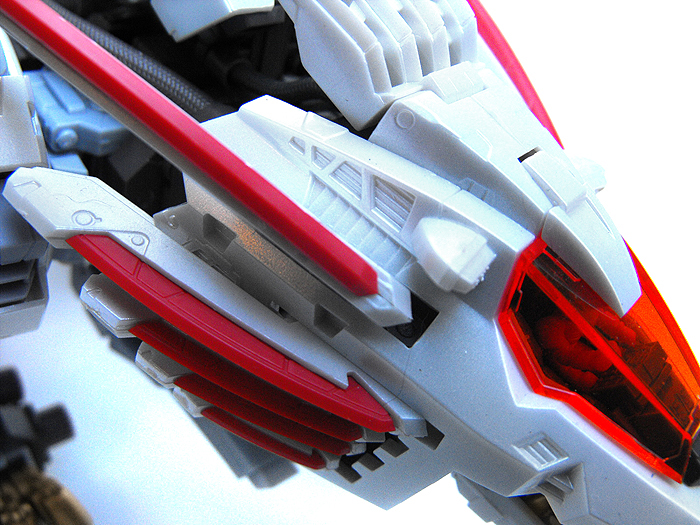
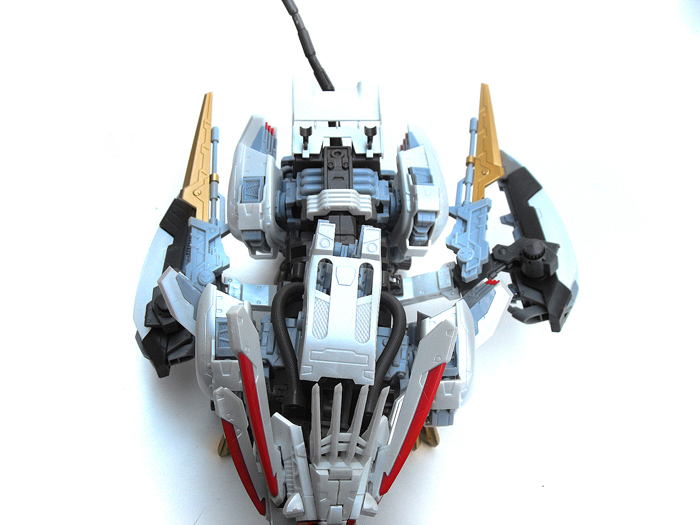
Cockpit
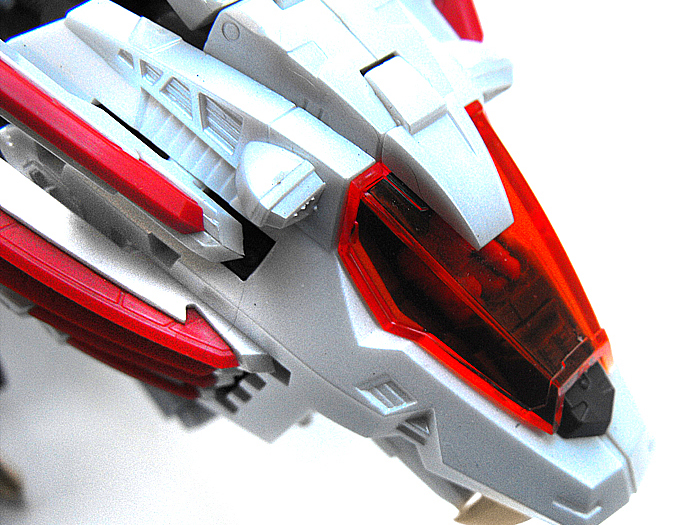
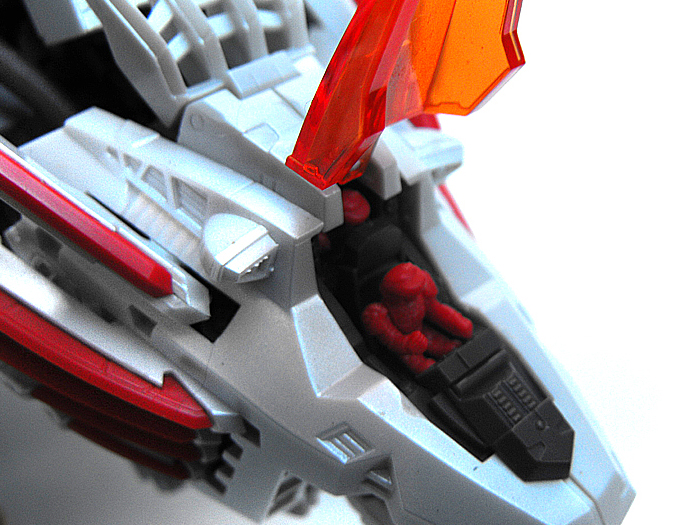
The clear orange plate also opens up. Like the anime! Version, Blade Liger Mirage has two pilot seats. However, be forewarned, getting these seats to actually set into the head correctly is VERY difficult. Even so, the cockpit doesn't cause the head piece to detach as much as the Shield Generator.
The pilots that come with Blade Liger Mirage are red, as shown in the photos.
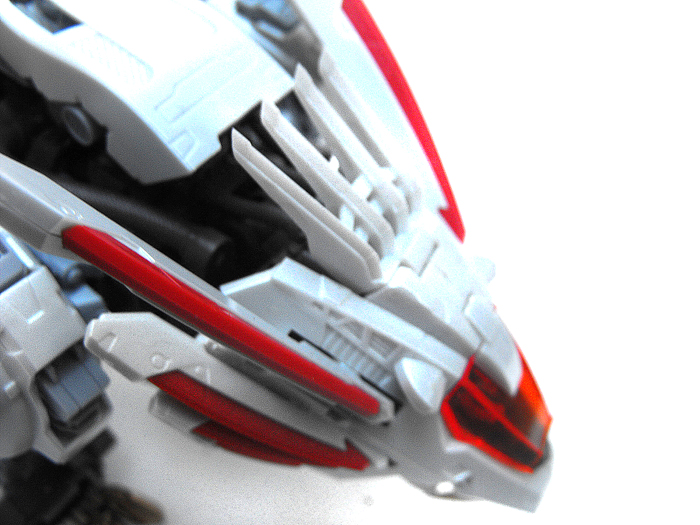
Face Pieces/Fins
Starting with the "ears", Blade Liger's ear pieces can rotate ever so slightly. This doesn't really do much, but they can lay back just a little.
The pieces on either side of the face can also shift back a little. Be warned -- these pieces attach on a thin peg and are the easiest part of the Zoid to break. I honestly wouldn't suggest bothering to mess with them, since they really don't rotate that much, and breaking the zoid isn't really worth the extra (minor) detail for a pose.
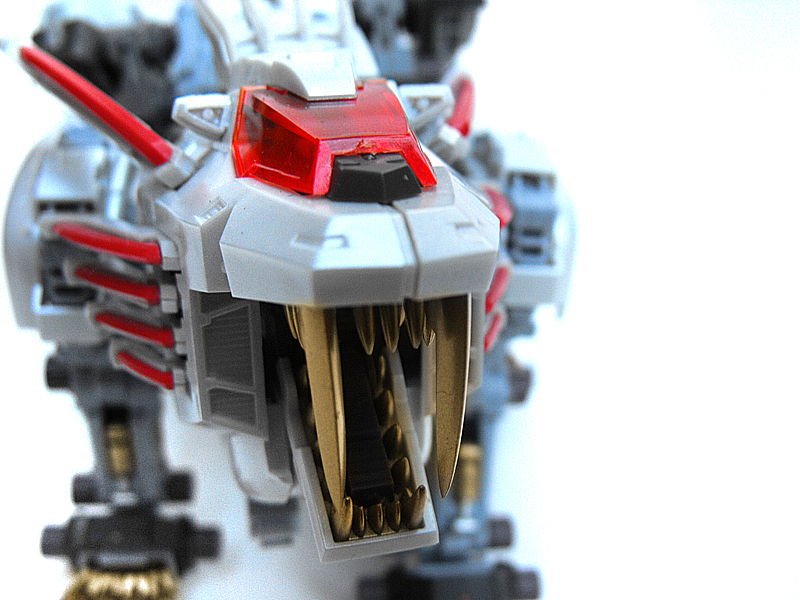
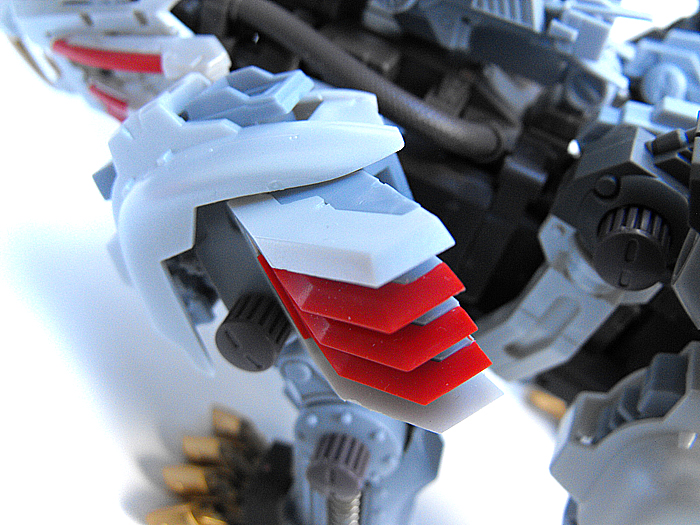
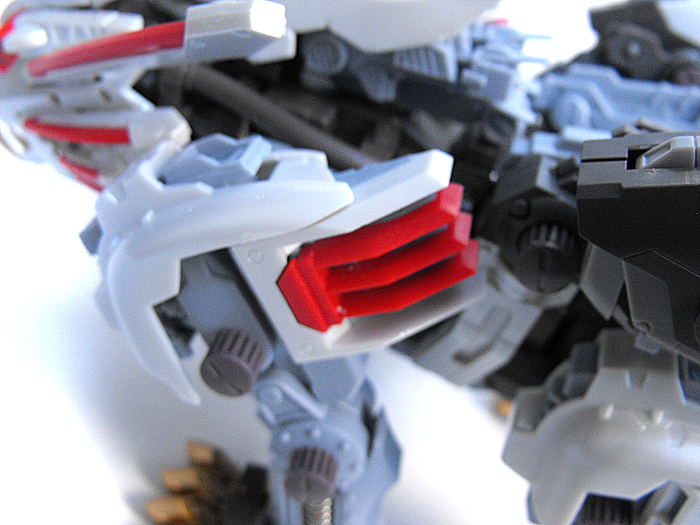
Jaws
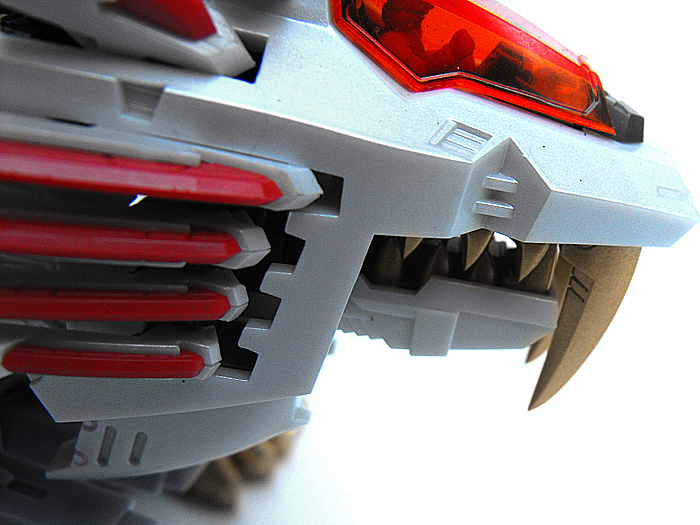

Following the tradition of non-child-friendly pieces, Kotobukiya's Blade Liger Mirage has a ferocious set of teeth that's incredibly sharp. Thankfully, the jaws don't open that far before they hit the shield piece on the throat.
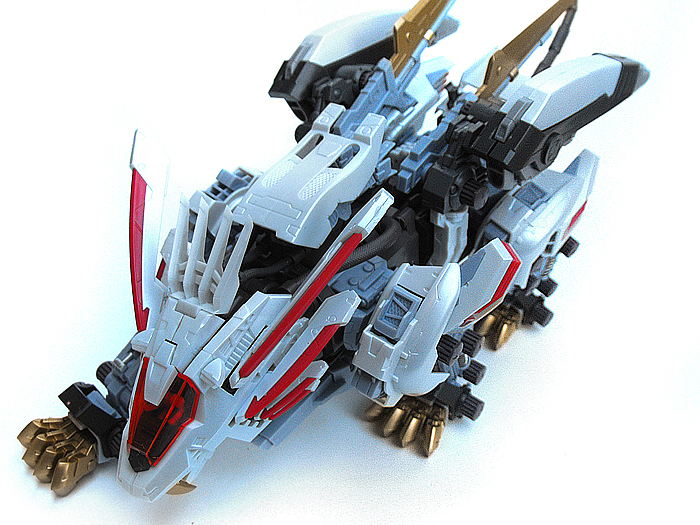
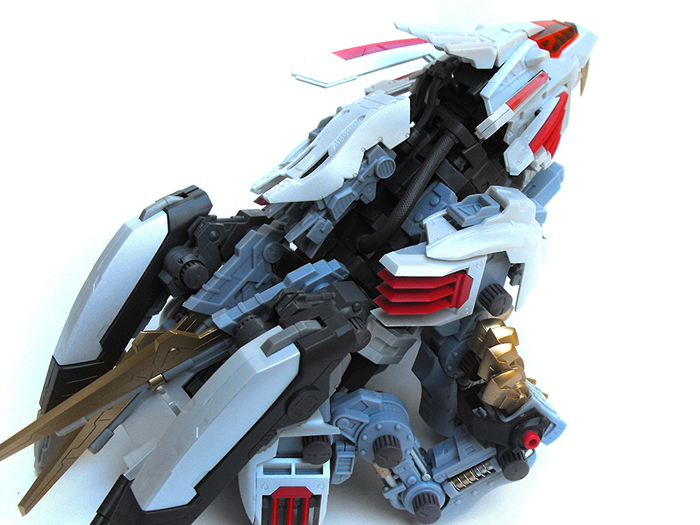
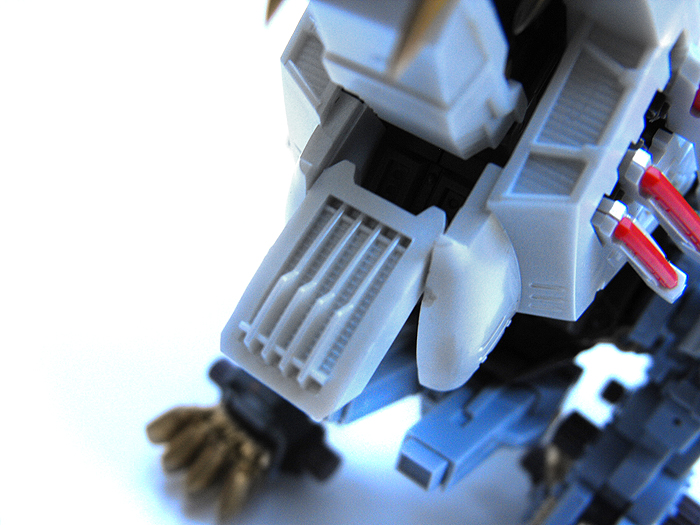
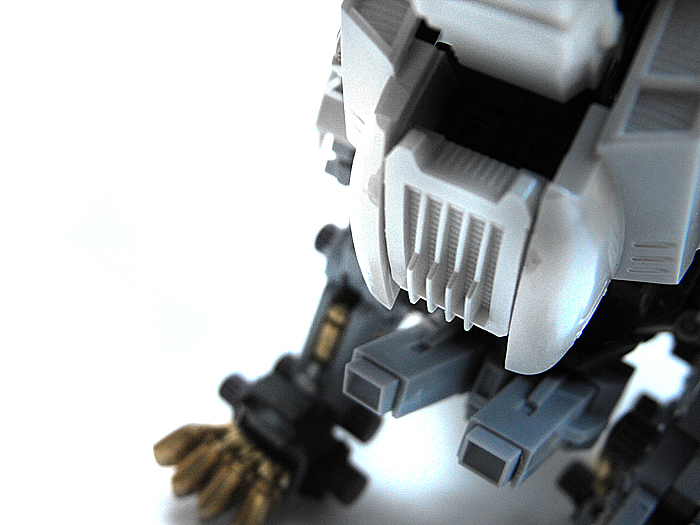
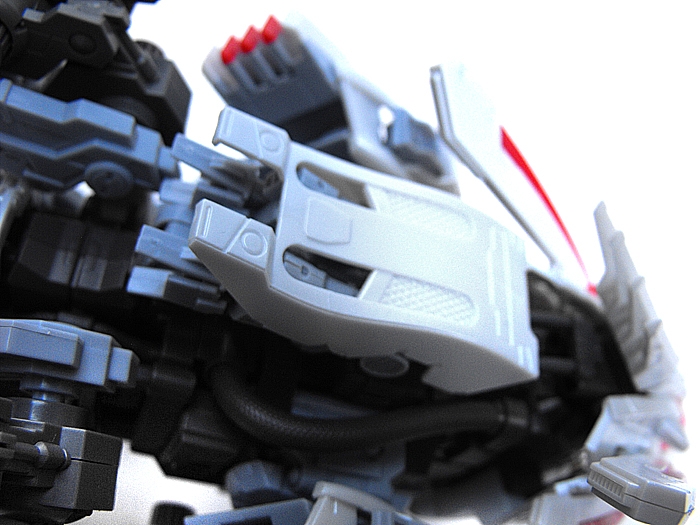
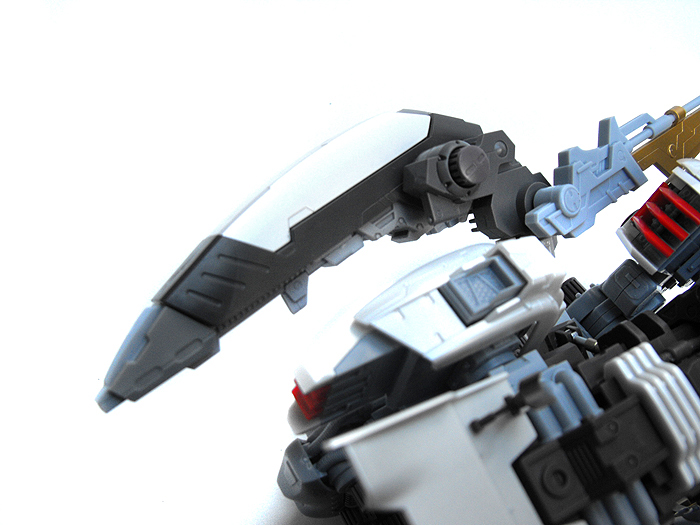
Shoulder Vents
The mechanism that moves the shoulder vents is pretty interesting. It's an S-shaped rubber PC piece that allows it to rotate in two different areas. So, it's worth noting that they CAN flip all the way out, but unfortunately I forgot to get a picture of that. Nonetheless, if the PC part is laid flat against the armor, you can see that it can still rotate outwards a bit. The only annoying part here is that they get in the way of the blades, so it's difficult to flip the blades out to the sides.
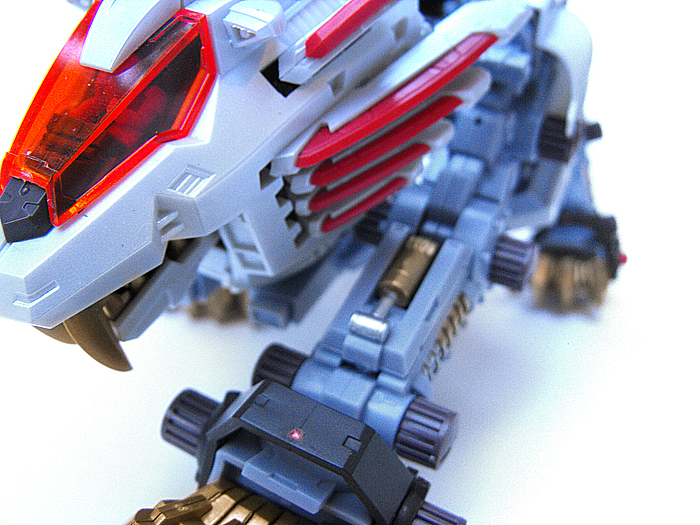
Leg Articulation
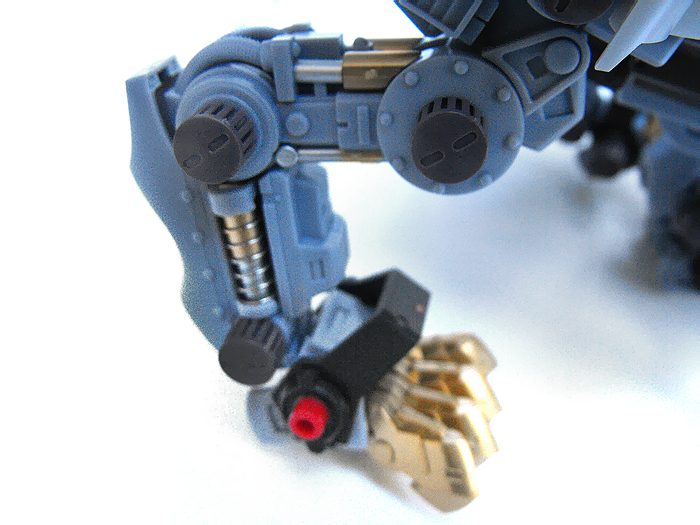
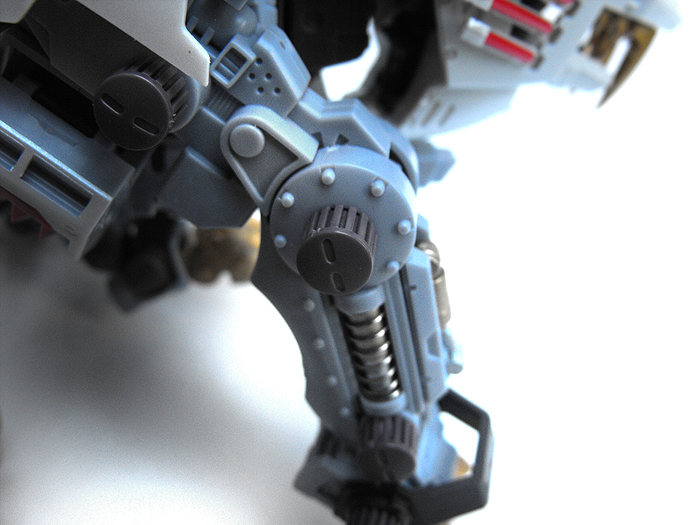
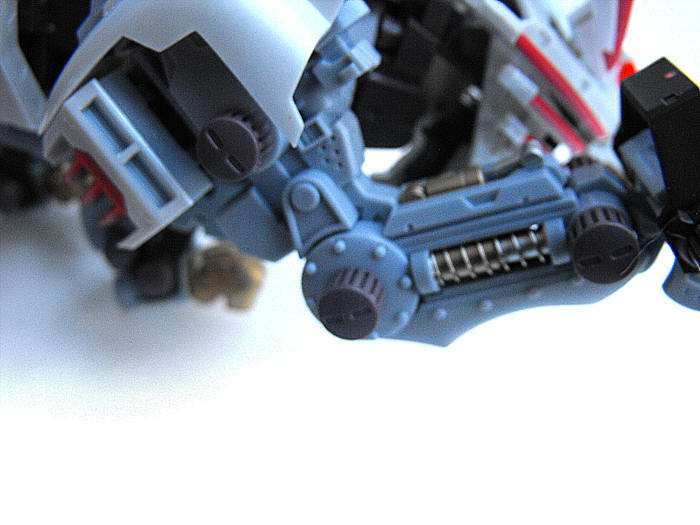
The main feature of these new Zoids, is of course their articulation. Blade Liger's legs attach at the shoulders and hips, where they're able to rotate inwards, outwards, and around. I wasn't too impressed with this. Honestly, there should've been a better PC piece used to connect the legs, because they really don't stay attached that well. That aside, there's also a hinge joint on the "elbow" section. The paws attach in a way that allows them to swivel up/down, and rotate in/out.
The back legs have hinge joints at the "knee" and "heel" area, and the paws attach the same way that the front paws do. Pay attention to the shoulder armor when moving the Zoid, though. It comes off pretty easily.
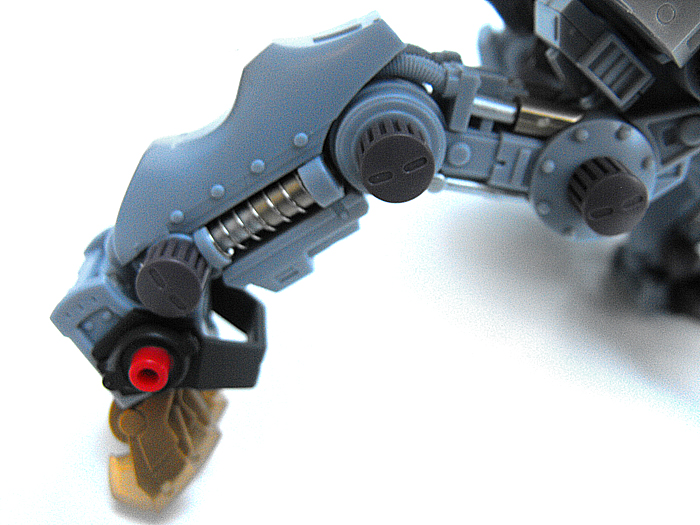
Rotating Claws
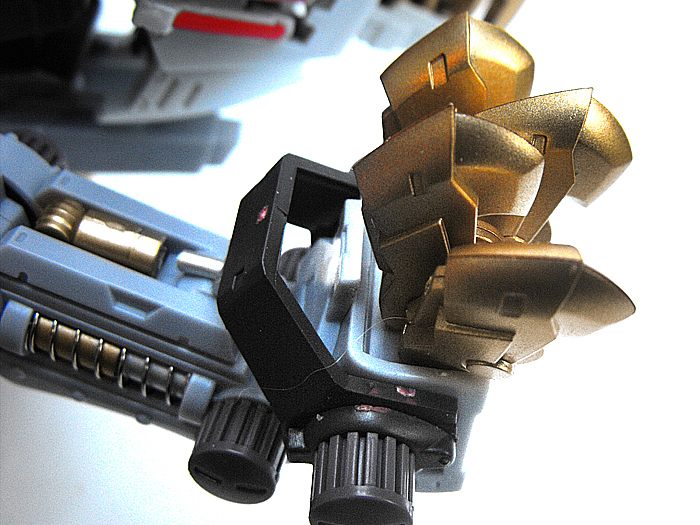
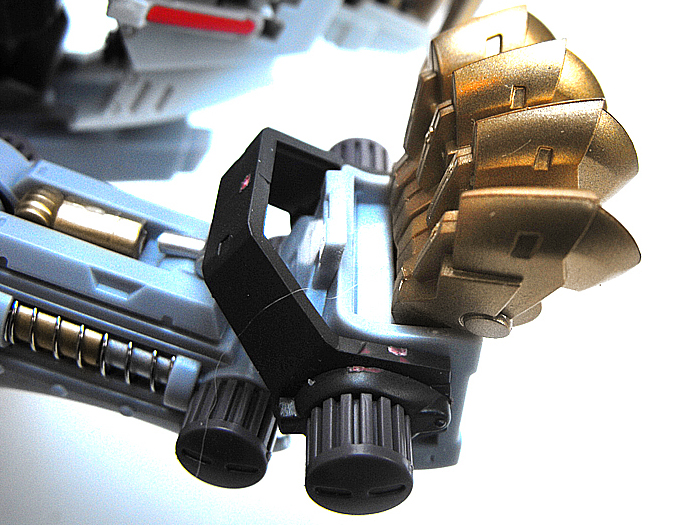
Each claw is separately articulated to rotate. This is pretty useful, especially when the legs are rotated outwards, since it allows you to place the claws in a way that makes it look like the Zoid is more balanced.
Back Boosters
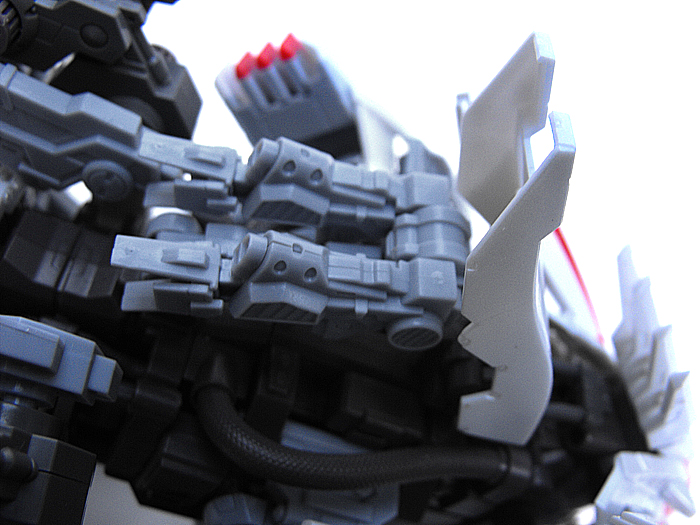

Blade Liger has a booster attached to the back, just between the shoulders. While the detail on the boosters is fairly nice, it's not that well designed. The boosters are in a small adjustable piece that can lift up when the boosters are "active", but the white armor that goes over top of it while inactive, is attached with a very loose, wobbly piece of plastic. It doesn't fit over it very easily, and it doesn't align well to begin with. It also comes off easily.
Tail
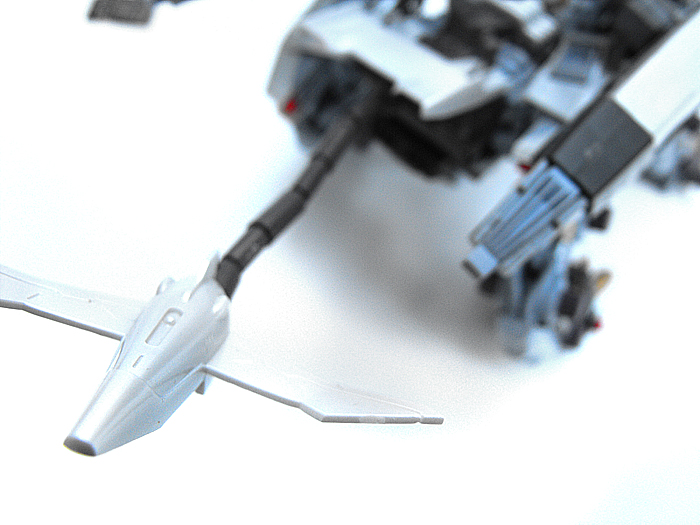
So, this is where it gets a little disappointing. The articulation on the tail of the Blade Liger is very, very poor. It can rotate a bit, but the movement is very stiff, and it hardly moves. It's also worth mentioning that the tail is unpainted. Considering they were able to do the incredibly thin fins on the face, this was a little frustrating. If you want it colored, you'll have to do it yourself.
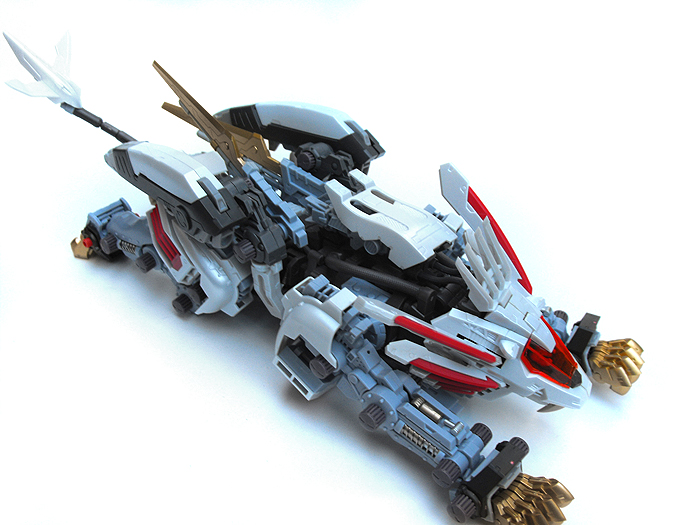
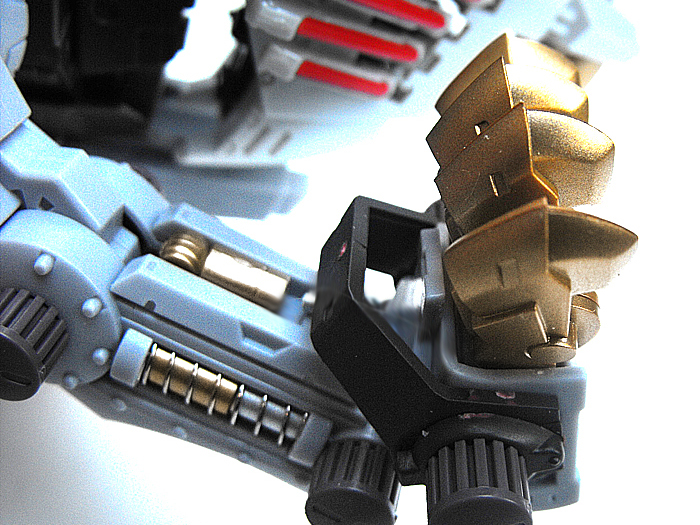
Blades
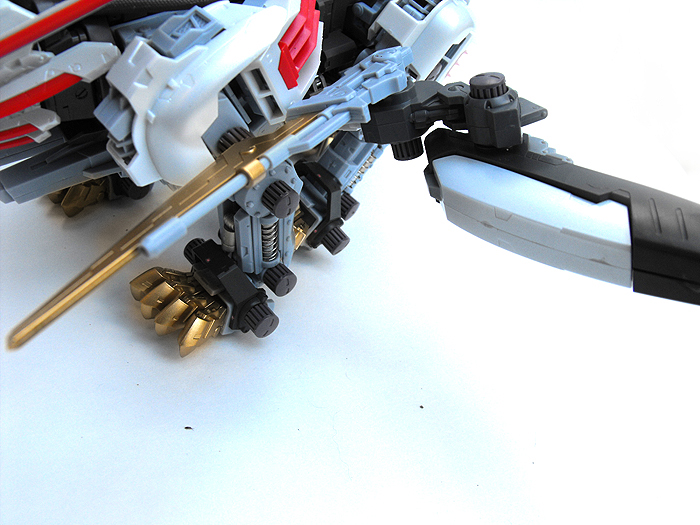
The Dual Laser Blades are Blade Liger's greatest asset. They attach on what looks like a hydraulic arm on the sides. A very cool gold/white pole mechanism slides out when the blades are pulled down to the sides. The actual extension for the blades is attached by three small pegs on the bottom of a plate. I'd suggest that you glue this piece, because if you don't, the blades are probably going to fall off every time that you move the blades around.
Aside from that, they also rotate forwards or backwards at the base.
Attack Boosters

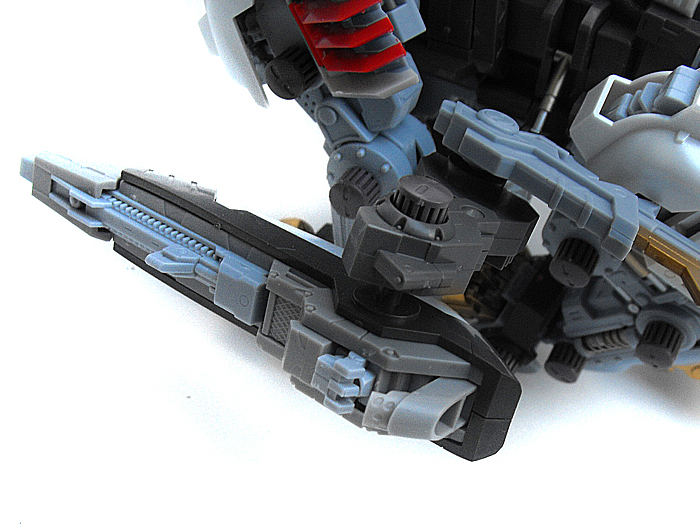

It wouldn't be a Blade Liger Mirage without the trademark Attack Boosters! These message boosters/weapons attach to the bottom of the blades, and rotate independantly of them. As such, they can rotate towards or backwards in opposite direction of them, if you so wish. In my experience, though, the armor over the Attack Booster is extremely brittle. It snapped in half, without any pressure when I was building my Blade Liger, and had to be glued back together. I also found the Attack Boosters to be very unstable. Make sure that they're build correctly, or the entire booster will come apart when you open the top. Even when correctly assembled, it seems that the opening portion of the Attack Booster doesn't rotate very well.
