
- Navigation
- Art Area Shield Liger: Instructions
Hello! So, while I've covered a lot of the finished photos of the Art Area Shield Liger in the main review, I also thought it'd be helpful to include a build review and vaguely instructional page. There's little to no information on this kit in English-speaking communities, and when you open it up, it can be quite alarming to be presented with screws, tubes, and wires. The Liger isn't as scary as it looks though. As long as you're slow and patient, it's a relatively easy build. I'm making this page both to demystify its first impressions, and to clarify some things that are absent in the 5-page instructions.
I'd also like to preface this by saying that the photos on this page are going to be very sloppy. Most of them are small, blurry, and/or grainy. My home lighting is pretty dim and I didn't spend any extra time clearing away resin scraps while I was working at my stained craft table. So I apologize for the mess!
- Translated Instructions
- Getting Started
Tools Needed:
- Nippers (for removing from sprues)
- X-Acto Knife (for cleaning flash)
- Pin Vise (for holes that were filled)
- Sand Paper (for cleanup)
- Paint (this is an unpainted resin kit)
- Paint Brushes (for the above)
I won't pretend to know much about painting, so take that as you will. For the rest, it's mostly to clean up the excess resin. The kit surface looks pretty nice but many parts have thick resin blocks attached to them. An X-Acto Knife would be greatly preferred over thicker blades because many of these areas are small, and you'll want to be able to scrape away excess resin.
We're going to be going over the clean up and assembly for each step below.
- Don't Forget to Wash Your Zoid!
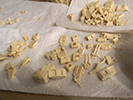 With all resin kits the first thing you want to do is wash every single part. You can wash them with basic dish detergent and water, but wash them thoroughly. This helps remove any residue or mold release from the item, and is important both for safety reasons and for any painting you want to do later.
- Head Assembly
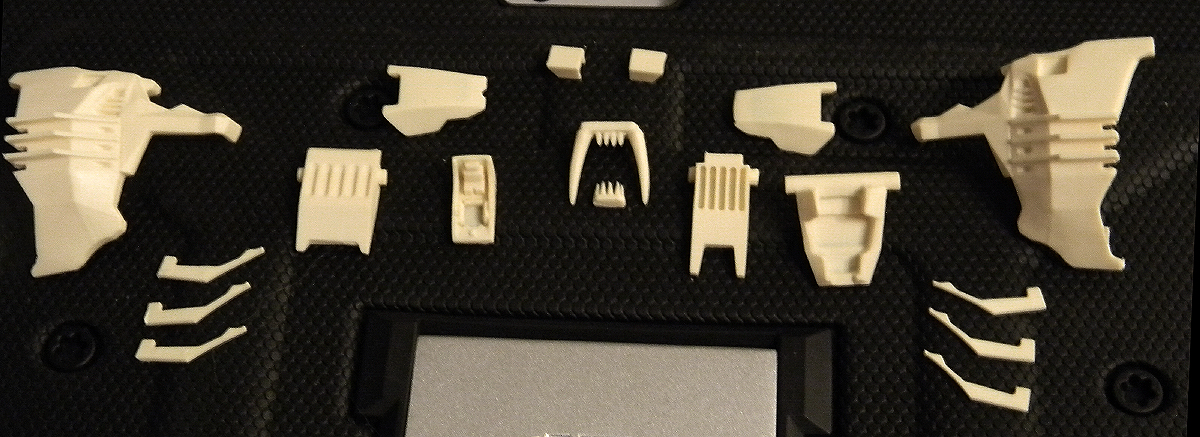
So here we see all the pieces for the head. There's quite a few, and not all of them fit by default. So do not glue the head pieces together until the last step, in case there is need for adjustment.
- Part Trimming
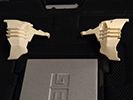
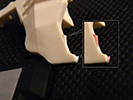
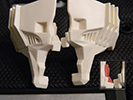
I trimmed these blocks off of the back of the mane (2nd image). You'll also need to cut out a shape for the E-Shield generators (3rd image). In the 3rd image, the right side is cut, the left side is uncut. Use the X-acto knife to carefully cut along each side to cut out the square.
- E-Shield Generator (Top)
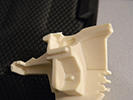

There are no pre-drilled holes for the E-Shield generator. There are grooves, but they aren't deep enough for the pegs. So I hollowed out the holes in the ears using the pin vise. If I had thought of it at the time, I would have been more careful to carve them in a slant so that the E-Shield Generator could glide more smoothly. It needs to move front to back within that section, not just have a hole big enough for the peg. Otherwise, either the front of the part won't stand up correctly, or will leave a large gap in the front.
- Mane (Sides)
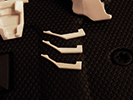

Next are the head slats. These parts are incredibly thin, so be careful. Hold the parts firmly on both the top and bottom, to ensure there's no sideways twisting when they're cut from the sprues. Also hold the back of the piece securely while trimming the flash.
There are notches on the sides of the head where the front of each slat goes. This is a bit of an odd design choice, and if I'm being honest, it was a poor one. They're not perfectly even as a result, and it's noticeable.
- Cockpit
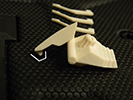


The interior of the cockpit is composed of 2-3 pieces. The main seat, a second (optional) seat, and a small console piece that goes in front of it. Unfortunately I don't have the other 2 pieces pictured. The console because I forgot, and the second seat because it catapulted itself into the void when I cut it from the sprue. Which is ok. I didn't want it anyway. Assemble the pieces, then insert it into the inside of the head (5th image).
The AA Shield Liger has 2 canopies. One has a notch on the bottom, and one doesn't. To match the anime representation they had to do away with the hinge on the nose, so instead you can choose between the two. The Open type has a notch on the bottom to glue it ontop of the nose, always open. The closed version fits snug enough you don't really have to glue it.
It's worth noting that the cockpit seat did prevent the head from closing entirely for me, so may need some extra sanding on the side.
- Jaws and Teeth
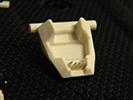
The Shield Liger jaws have a long peg, so before you glue the head, make sure you drill out holes large enough for a good fit. Glue the upper fangs into the mouth after assembling the cockpit.
- Body
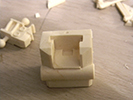
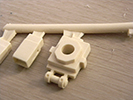

Not much of the body requires discussion. The first two images are the parts for the front of the body. Slide the second piece down into the first, to create the neck joint. For the rest of the body, the instructions should suffice.
Missiles


There's a small square indentation on the backsides of the missile boxes. Carve that out with a dremel, then glue it to the bar on the missile arms. The hole should be on the lower half of the piece to ensure you're not gluing them on upside down.
The front-facing side of the missile arm is just for show. The back side is a long peg. Drill a 1.8 mm hole through the round lump on the bottom of the body square, and carefully insert the peg. If it is a tight fit, DO NOT continue. These pegs break with extreme ease. If they break on you, you can replace them with a basic metal rod and use your pen vise to drill a new hole. I personally went the cheap method and carved up a toothpick to use as a peg. Still holds better than the original.
I advise glue for the square sockets that hold the legs, as they slide out easily otherwise. Also, be sure to place the rear leg ones before the black plates that hold the side tubes, as they may interfere slightly with them otherwise.
Triple Shock Cannon
The Triple Shock Cannon is designed to bend with the body, so be sure to add a screw to the middle, don't just glue it!- Front Legs

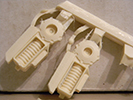


As you can see in the above photos, many of the pieces have thick resin attaching them to the sprues. Cut a little higher than you need to, or it'll take a whole chunk of resin out of your part. Also be sure to gently, but firmly hold any pipes while cutting them off, so that they don't snap from the pressure of the cut.
The front legs are fairly simple. Glue on the pipes, the pieces on the top, the caps, and the leg socket. Then hold the lower leg halves together over the circular indent on the bottom of the shoulder piece. Drill your hold through all 3 pieces, careful to keep it level, and insert the screw.
By the 5th or 6th cap my hand was dying. Since I also balance kit building with artwork I took a lazy exit and screwed the screws in backwards, so I could glue the caps directly onto the screw head.
The leg pipes on the fronts of the lower leg will have a tiny circular bump, to line them up to a tiny circular dip in the leg itself. Once everything is on, attach the bottom of the leg (where the rubber piece will go) and the curvy plate on the back to help hold it all together. Use glue for these steps, and be careful that your leg halves are aligned. If the peg that holds on the bottom ankle piece is misaligned, gently rotate one half of the leg until they're lined back up.
- Trimming
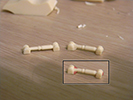
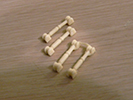

After the pieces are removed there's some trimming to do. You can see the trimmed (left) and untrimmed (right) pieces on the second photo.
Front of Legs
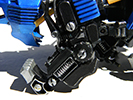
The angled armor in front of the leg, and the silver pipe that goes between the two lower leg pieces are attached by two tiny areas. Be sure that there is a nice, flat, square space for them to fit into. Carve additional space as needed, and glue these pieces last. They will come off at the slightest pressure, and you'll need to carve out the adhesive and glue all over again.
- Rear Legs


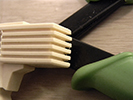
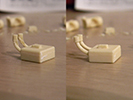
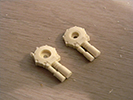
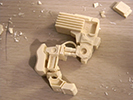
Infinitely more frustrating than the front legs. As you can see, there is a lot of flash. Often on fragile pieces. So be careful, and again, securely support the piece whenever trimming.
Top of the Legs

There are a lot of pieces here, but for the most part, just glue them on. Slot the pipes for the square box (at the top of the leg) into the two holes on top of the leg. Glue on those little rectangle X pieces and the caps. I might advise holding off on caps until the entire leg assembly is done. You'll need to drill some small indents for the leg pipes (on the knee) to go, but again, I advise doing this as a last step because you'll be moving these parts a lot, and they come off easily.
Middle of the Leg
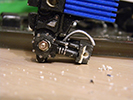
This is where things get frustrating. Basically, the lower leg attaches to the middle section using 4 pipes. These are both weak parts and lack the surface space for glue, cement, etc. to develop a strong grip. You may want to deepen the holes that they fit into, but they don't fit well in the first place. Don't push too hard or the top pipes will snap right off.
It may be worth trying to pin them, but I was nervous it would put too many holes through the block. Someone more experienced may have better luck. Be sure to attach the arching silver pipe on the back of this section first, as it'll be hard to do it later.
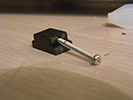
Before actual assembly, be sure to drill a 2 mm hole all the way through this heel piece. For this one, I drilled the two lower leg halves afterwards, because it was hard to grip the piece otherwise. Only after you have drilled the holes would I recommend gluing the middle leg pieces.
Lower Legs
Follow the same steps as with the front legs. Attach the two halves, insert the screw, and make sure that the peg on the bottom is aligned on both sides. If not, loosen the screw and rotate one leg slightly until they are aligned. If they will not line up, you may have the screw too tight. Then glue on the back plate and ankle socket.- Paws


The angle of the paws are not the easiest thing to trim. Be careful not to sheer off the top of the slope. How you handle the claws is up to you. I kind of liked that they could bend a tiny bit if I didn't glue them, so I left my claws unglued.
Ball Joints

Take the skin colored rubber pieces and pinch them, applying gentle pressure as you press them into the sockets on the foot. Do the same for a second piece, this time attached to the bottom of the front leg. The ball joints will need several layers of clearcoat to have enough grip to not constantly sag, so adjust them one coat at a time, and judge the tension for yourself as you go.
- AMD Beam Gun
My apologies, this is something I forgot to take pictures of. Since the tail is rather straight forward I'm gonna skip over here. You may want to glue the long flat plate for the gun, since otherwise it leans quite far downwards. For the armor going over the gun, it also did not fit on my kit. There was not a peg, it was just a vague nub. So I layered clear nail polish up on both sides, by just putting a drop on the end, letting it dry, then repeating. Clear coat or adhesive works just as well. The goal is to create a large enough bump there for the armor to stay secured.
- Painting


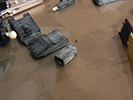
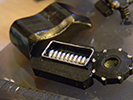

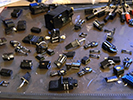

Let me preface by saying, paint AFTER assembly. In my naivety I thought that painting before would give me much better coverage behind joints and what not. Instead, I ended up destroying perfectly nice paint jobs because of the pressure required to fit some parts together, and general handling. I didn't want to clearcoat this kit because of the metallics, so your mileage may vary, but either way, it's just... a much better choice.
My Shield Liger was entirely hand painted. I've only ever hand painted one other Zoid before, so it was a bit... intimidating. You can see how awful it looks with fewer layers (the first few photos show 1 layer vs. 2, vs. 3, etc.) I stuck to the 'consistency of milk' rule and kept layering up, and I think it turned out all right!
The silver detailing was all done with the Molotow paint pens, and the colored paints were a mix of DecoArt and FolkArt acrylics.
- Final Words
There are a lot of details about this kit that can be a challenge. My leading advice would be, PAINT AFTER ASSEMBLY and use a lot of clear coat on those ball joints. None of the joints in this kit are tight enough to be sure on their own. So keep layering up.
That aside, this is a gorgeous little kit. It really does have that anime aesthetic, and while it makes some slightly odd design choices, there's much to love about it. I know I didn't follow the instructions to the T on this one, but I thought I would like it better with these choices, and I do. I'm sorry this page doesn't have photos for everything. A lot of the time I was so involved in the build that I just plain forgot to take them.
Either way I hope it can provide some insight into the build process for this kit, and help others work up the courage to try to build their own!


