




Zoids Index
| EZ-021 BD Bloody Demon Technical Data ブラッディデーモン | |
|---|---|
| |
| Name Note: | None |
| Alignment: | Guylos / Zenebas Empire |
| Rollout: | ZAC 2101 |
| Type: | Dinosaur |
| Length: | 45.6 m |
| Height: | 12.7 m |
| Weight: | 422.0 t |
| Max Speed: | 90 km/h |
| Equipment Information | |
|---|---|
| Weapons: | Equipment: |
|
Charged Particle Forced Intake Fan x3 (Back)
Hyper Killer Claws x2 (Hands) Killer Bite Fangs (Mouth) Large-Calibre Charged Particle Beam Cannon (Mouth) Large Gatling Gun x2 (Back) Small-Calibre Anti-Surface Laser Machine Gun x2 (Belly) Smash Tail (Tail) |
None [2]
|
| Story Information | |
|---|---|
| Pilots: | Introduction: |
|
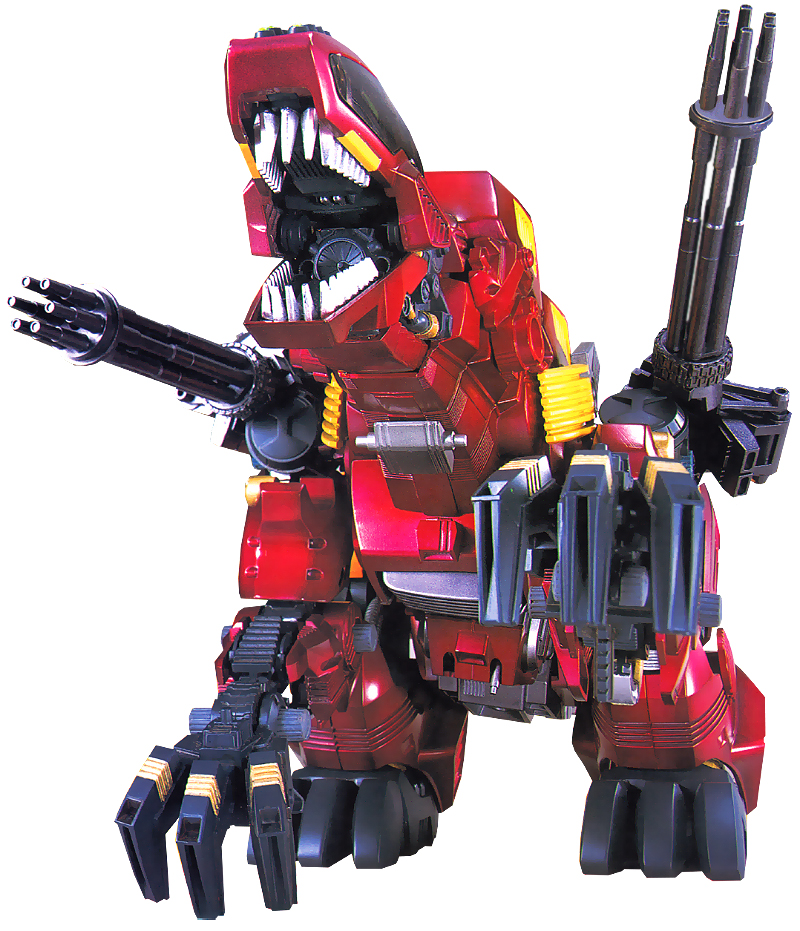
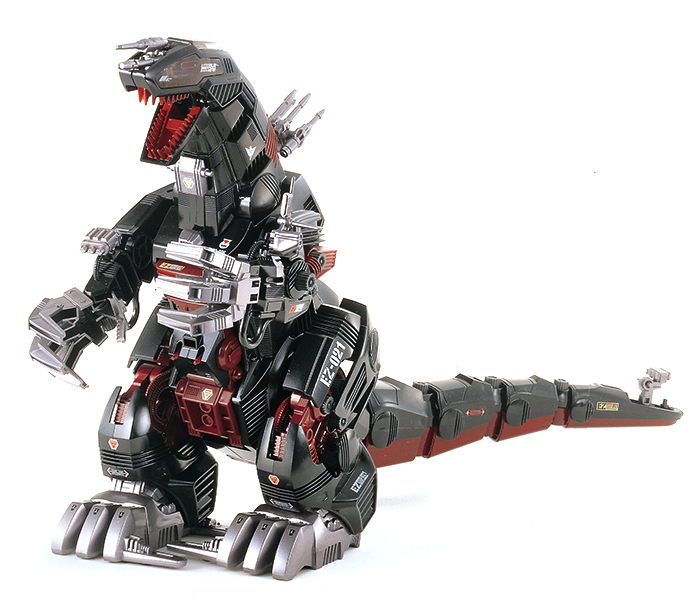
The Bloody Demon was an experimental Death Saurer from the time of the Death Saurer Revival Project, which even after the incident at Olympus the Guylos Empire had continued to research. Though it may look like a Death Saurer its Zoid Core is actually a Geno Saurer's.
[1]
|
- Military History
ZAC 2101, August, Meltdown
After the Ray Force landed on the Dark Continent of Nyx they dispersed Shadow Foxes across the land to search out enemy activity. One of them witnessed a strange sight: Imperial Zoids slaughtering each other. They realized this must be the Eisen Dragoon. When the rest of the Ray Force caught up, Ray Gregg was confronted by Wolff Muroa. Wolff threatened that if he didn't continue to the Imperial capital of Valhalla, that the Ray Force would die there. After their slight hesitation, the Zeroes were disabled. A fierce battle began, and while the Zeroes were eventually saved by Gunblusters, the only way that the Zeroes themselves could fight was to throw off almost all of their electronic equipment, which was nothing but dead weight due to the jamming equipment employed by the Dragoons' Grounchars.
 Associating Ray with the death of his childhood friend, Anna, Wolff decided to challenge him directly. He overestimated his own abilities as a pilot and was defeated. Just as Wolff was sure he'd die, the corner of the base they'd been fighting at erupted. A strange abomination of a Death Saurer emerged from within. The Bloody Demon launched a ferocious assault against the Ray Force. It was piloted by Signer Feuer, Wolff's right hand man. The original test pilot, Fea, had handed over the Bloody Demon then escaped with her life. Signer piloted the Zoid into battle to buy time for Wolff's escape. With their Zoids injured, and their armor discarded, the Ray Force soldiers rapidly fell to its assault.
As the battle raged on the Demon started to melt down. Its body couldn't handle the onslaught of attacks and it started to lose power, but the Ray Force had been powerless to fight it. All but one were disabled. Ray Gregg, who'd been ordered to chase after Wolff, chose instead to disobey the direct commands of his superiors and returned to the battlefield to save his fallen allies, many of which were still alive inside their Zoids. He had his Zero equipped with various CAS parts from one of the burning Hover Cargos. Signer decided to make the Zoid his last trophy, but the Bloody Demon was already in terrible condition. Ray's skills as a pilot allowed him to maneuver the Zero, even in its extremely unbalanced state around the Demon's attacks. The Demon's particle cannon vaporized the armor on the right side, making it even more difficult to control. Ray compensated for this by unloading the Panzer's missiles, causing the Demon to buckle forward and lower its head. Now in reach, he dodged the claws and drove the Schneider's blades through its throat.
 With this final attack the Bloody Demon was defeated. However, the battle didn't end there. Wolff Muroa returned, intent on rescuing a friend who'd supported him for as long as he could remember. He fought the Zero head on. Earlier in the fight Ray had thrown off his Zero's armor to fight through the Dragoon's jamming by relying on his Zoid's instincts. Wolff mirrored this action, tossing the armor away. He managed to land a non-fatal wound to the Zero's core with the Buster Blades. Even though the Bloody Demon had lost its fight, its pilot survived thanks to Wolff's daring return.
- Notable Details
- The Bloody Demon's firepower is said to rival an entire battalion of heavy artillery Zoids.
- The Bloody Demon was first featured as a model build advertising the 1st All-Japan Customization Grand Prix held the same year.
- While it was an interesting experiment, the Bloody Demon project wasn't the most successful. The Geno Saurer core wasn't able to handle the immensely powerful equipment of the Zoid. While it's still far more powerful than a Geno Saurer, it's not suitable for genuine combat because the body begins to melt the longer the weapons are used.
- Equipment Information
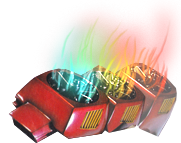
- Charged Particle Forced Intake Fan x3
Like the Death Saurer, the Bloody Demon uses Charged Particle Intake Fans to absorb static electricity from the atmosphere, converting it into energy within the body and amplifying its effects. That energy is then emitted as a charged particle beam. The Bloody Demon, however, has been modified to replace its back equipment with three intake fans, dramatically increasing how much it can take in at once. When these draw in energy it's depicted with an almost rainbow gradient.
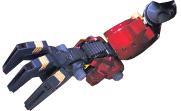
- Hyper Killer Claws x2
Bloody Demon retains the Death Saurer's Hyper Killer Claws, but these are actually modified onto the inner frame of an Iron Kong arm. This makes the arms considerably longer than the typical Death Saurer, and in true Death Saurer fashion, it's depicted in the Battle Card Game ripping the head clean off a Command Wolf.
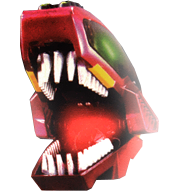
- Killer Bite Fangs
The Killer Bite Fangs of the original Death Saurer are retained. They don't see much use to assess their capabilities.
- Large-Calibre Charged Particle Beam Cannon
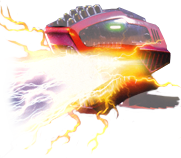
The particle cannon is retained as one of the Bloody Demon's primary weapons. It's unclear just how having three particle intake fans impacts the power of the particle cannon, but combined with the gatling gun and other ranged weapons in its arsenal it was able to single-handedly take out the Ray Force, even if they were injured before hand.
- Large-Calibre Gatling Gun x2
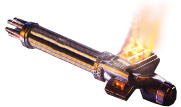
The Bloody Demon is equipped with two six-barrelled beam Gatling Guns, modified from the Dark Horn. These are installed directly to the tops of the shoulders and share the same range of motion.
- Multi-Shot Missile Pod
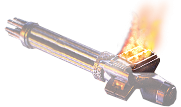
The Bloody Demon is also noted to have a Multi-Shot Missile Pod. Though it isn't explicitly indicated, this likely refers to this section of the Gatling Guns, which seems to be an 8-shot missile pod pointing directly into the air. Depending on the angle of the arms, they can also fire behind the Bloody Demon.
- Small-Calibre Anti-Surface Laser Machine Gun
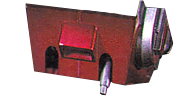
This gun is installed to the belly, and on a normal Death Saurer it'd have two barrels. The barrels can rotate up and down, firing rapid laser shots. On the Bloody Demon, there's only one barrel. It's unclear if this is an intentional change or just an oversight during assembly, but was worth mentioning.
- Smash Tail
The Bloody Demon also appears to be missing its typical tail equipment. Instead, the Smash Tail is customized with what appears to be rows of spikes running down the length of the tail. In the Battle Story, it looked as if it was using the Smash Tail to knock back the Zeroes of the Ray Force.
- Media Appearances
Book Media: Zoids Official Fan Book 2
Book Media: Zoids Official Fan Book 3
Game Media: Zoids Saga II
Game Media: Zoids Saga Fuzors
Game Media: Zoids Saga DS: Legend of Arcadia
- Notable Variations
- Notes
1. All information, unless stated otherwise, is from Official Fan Book 2 ~ 3, Zoids Saga, and the Battle Card Game.
2. The Bloody Demon didn't appear in much media, and never got a proper weapons list. In Zoids Saga the Large-Calibre Gatling Gun was mentioned among the Smash Tail and Death Saurer-specific equipment (Particle Cannon and Bite Fangs.) Its other weapons are not officially named, but since it's a Death Saurer variant I felt relatively safe to supplement the Death Saurer's equipment names here, while carefully analyzing the Zoid for what may-or-may not be carried out.
